
frankie diy - pom pom chandeliers
With Friday comes the freeing of both imaginations and schedules, leaving us with time to tinker on the weekend afternoons. To celebrate this, frankie magazine is going to be bringing you a new crafty online DIY every two weeks thanks to our new team of nimble thimble fingered writers. Huzzah!
With Friday comes the freeing of both imaginations and schedules, leaving us with time to tinker on the weekend afternoons. To celebrate this, frankie magazine is going to be bringing you a new crafty online DIY every two weeks thanks to our new team of nimble thimble-fingered writers. Huzzah!
First up is Rachael Smith, the Brisbane-residing missus of Penelope and Pip. Take it away, Rachael!
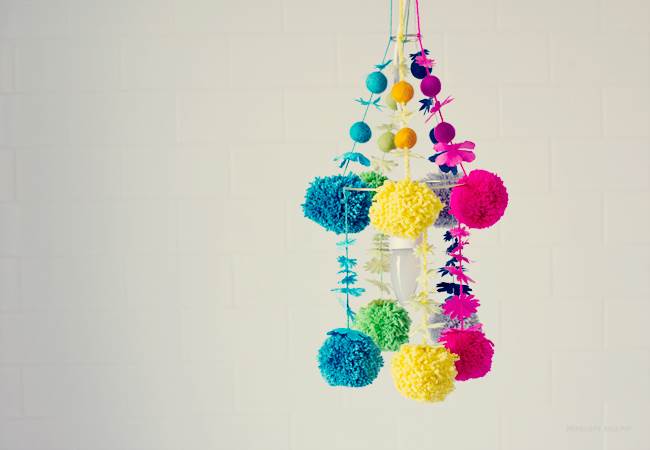
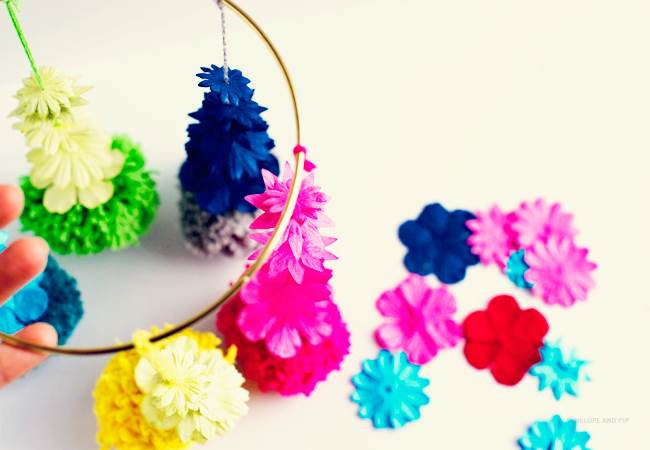
I'm always happy when spring comes around as it means the days are getting longer and the weather is so much warmer. There is no better way of celebrating than adding some bright pops of colour to the kitchen, so today I thought I'd show you how to make a Pom Pom Chandelier (it will help you feel all happy and summery, I promise).
Firstly, let's get started with materials:
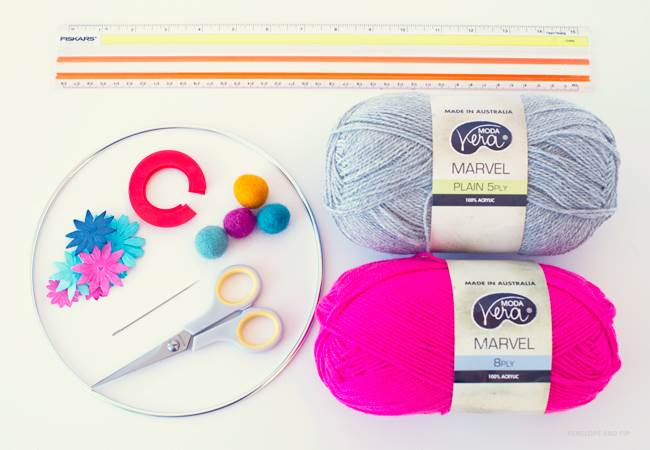
MATERIALS
Pom pom maker (or you can fashion your own out of cardboard - the diameter I used is 5.5cm)
Scissors
Darning needle
Ruler
Assorted wool (I chose five colours)
Felt balls
Fabric or paper flowers
Embroidery hoop (mine was 7" wide)
Hook or metal hoop to hang it from (not shown)
You can find all of these materials at your local craft store.

INSTRUCTIONS
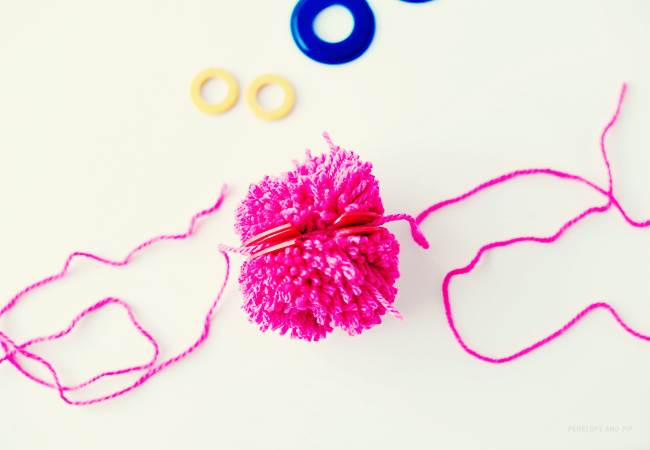
Step 1: Making your pom poms is pretty easy and you'll probably remember the ins and outs from primary school.
Wind your wool around your two discs until you almost close the gap in the middle.
Cut your wool using the middle of the discs as a guide.
Tie a long piece of string between the middle of the discs and knot tightly.
Remove the discs, fluff out your wool and trim to make a nice, smooth pom pom. You'll need to make ten of these.
TIP: Make sure you cut a gap in your pom pom discs as this will make it much quicker to loop the wool around.
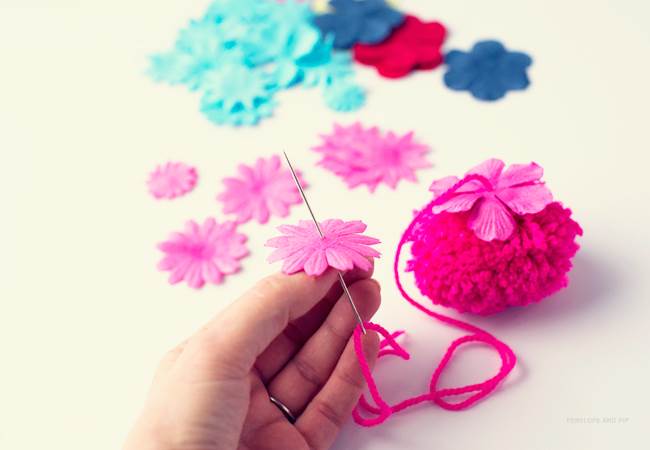
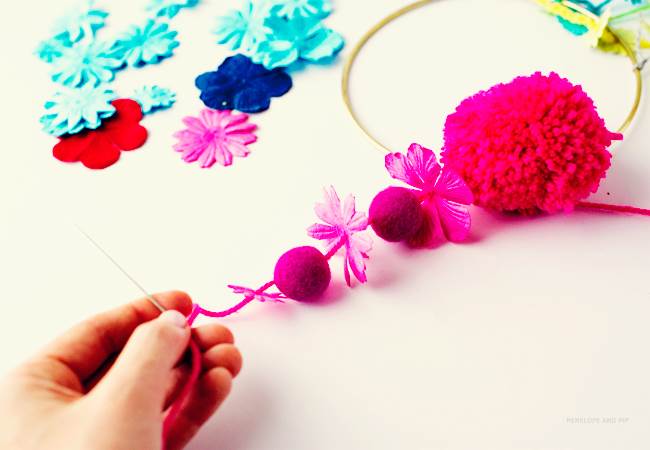
Step 2: Cut one end of the wool tied around your pom pom off.
Thread your darning needle with the remaining wool length and thread your flowers on.
Decide what length you want these second tier pom poms to hang at and use the ruler to cut your lengths - this will ensure everything hangs evenly.
Step 3: Tie all of your second tier pom poms and flower lengths onto your embroidery hoop.
Step 4: Now make your first tier of pom poms by tying a pom pom onto the embroidery hoop at each place where you tied your first pom pom lengths.
Thread your needle again and this time add alternating felt balls and flowers.
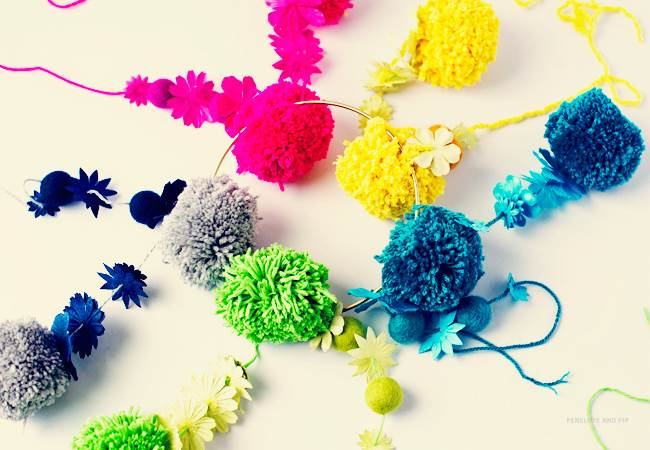

Step 5: Once you have tied on your first tier pom poms and their embellishments, it's time to tie everything together so the chandelier can hang.
I used another little loop to make sure it hangs nicely, but you could tie the threads directly to a hook in the roof.
Use your ruler to make sure all your threads are the same length so that everything hangs evenly.

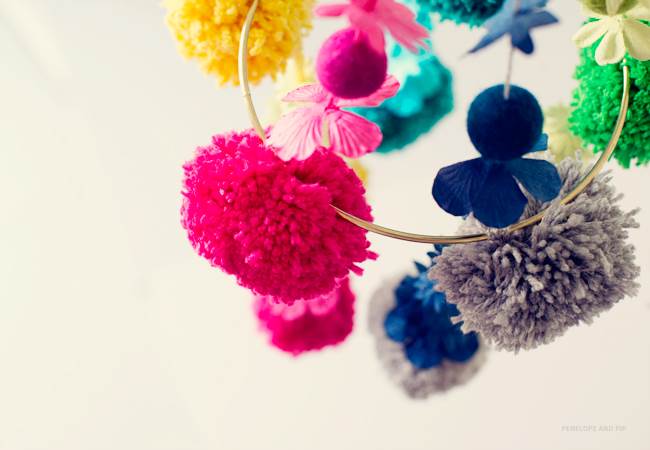
Now stand back, admire your beautiful handiwork, and bring some sunshine back into these first happy weeks of spring.


.jpg&q=80&w=316&c=1&s=1)


